Amidst the vibrant dance of flames and the comforting warmth, there's a culinary masterpiece in the making — your homemade pizza. The aroma of baking dough intermingles with the enticing scent of the toppings, crisping above the transformative flames of your wood-fired pizza oven to create an alluring and unforgettable experience.
Central to this process is your pizza stone, a humble yet critical component of your pizza-making arsenal. In this guide, we'll illuminate the intricacies of maintaining this piece of equipment, explaining how to clean a pizza stone in six easy steps.
STEP 1: LET THE PIZZA STONE COOL DOWN NATURALLY
An act of patience and respect, this first step is not to be rushed. While it may be tempting to start the cleaning process while the stone still hums with the echo of the flame's heat, resist the urge in favor of a gentler approach.
This is because the sudden chill of a cold cleaning could cause your cherished stone to crack as a result of thermal shock. Instead, let the stone gradually surrender its warmth to the night sky, preserving its integrity.
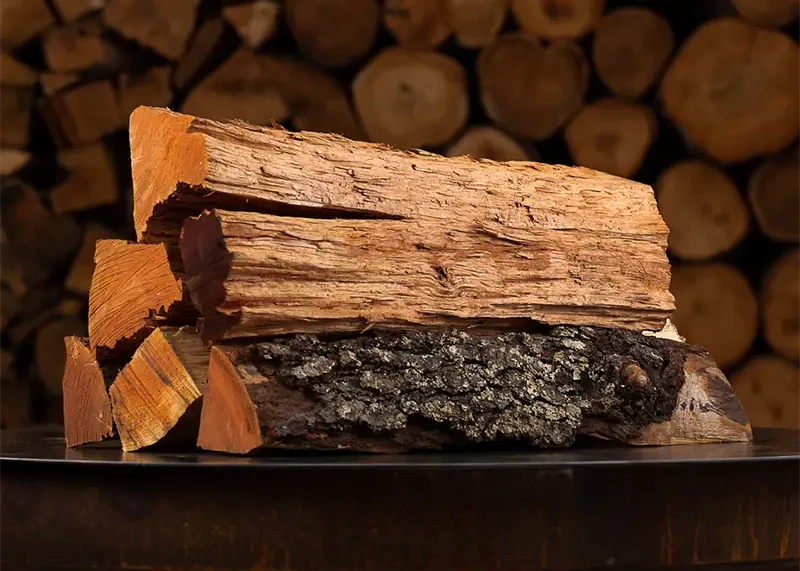
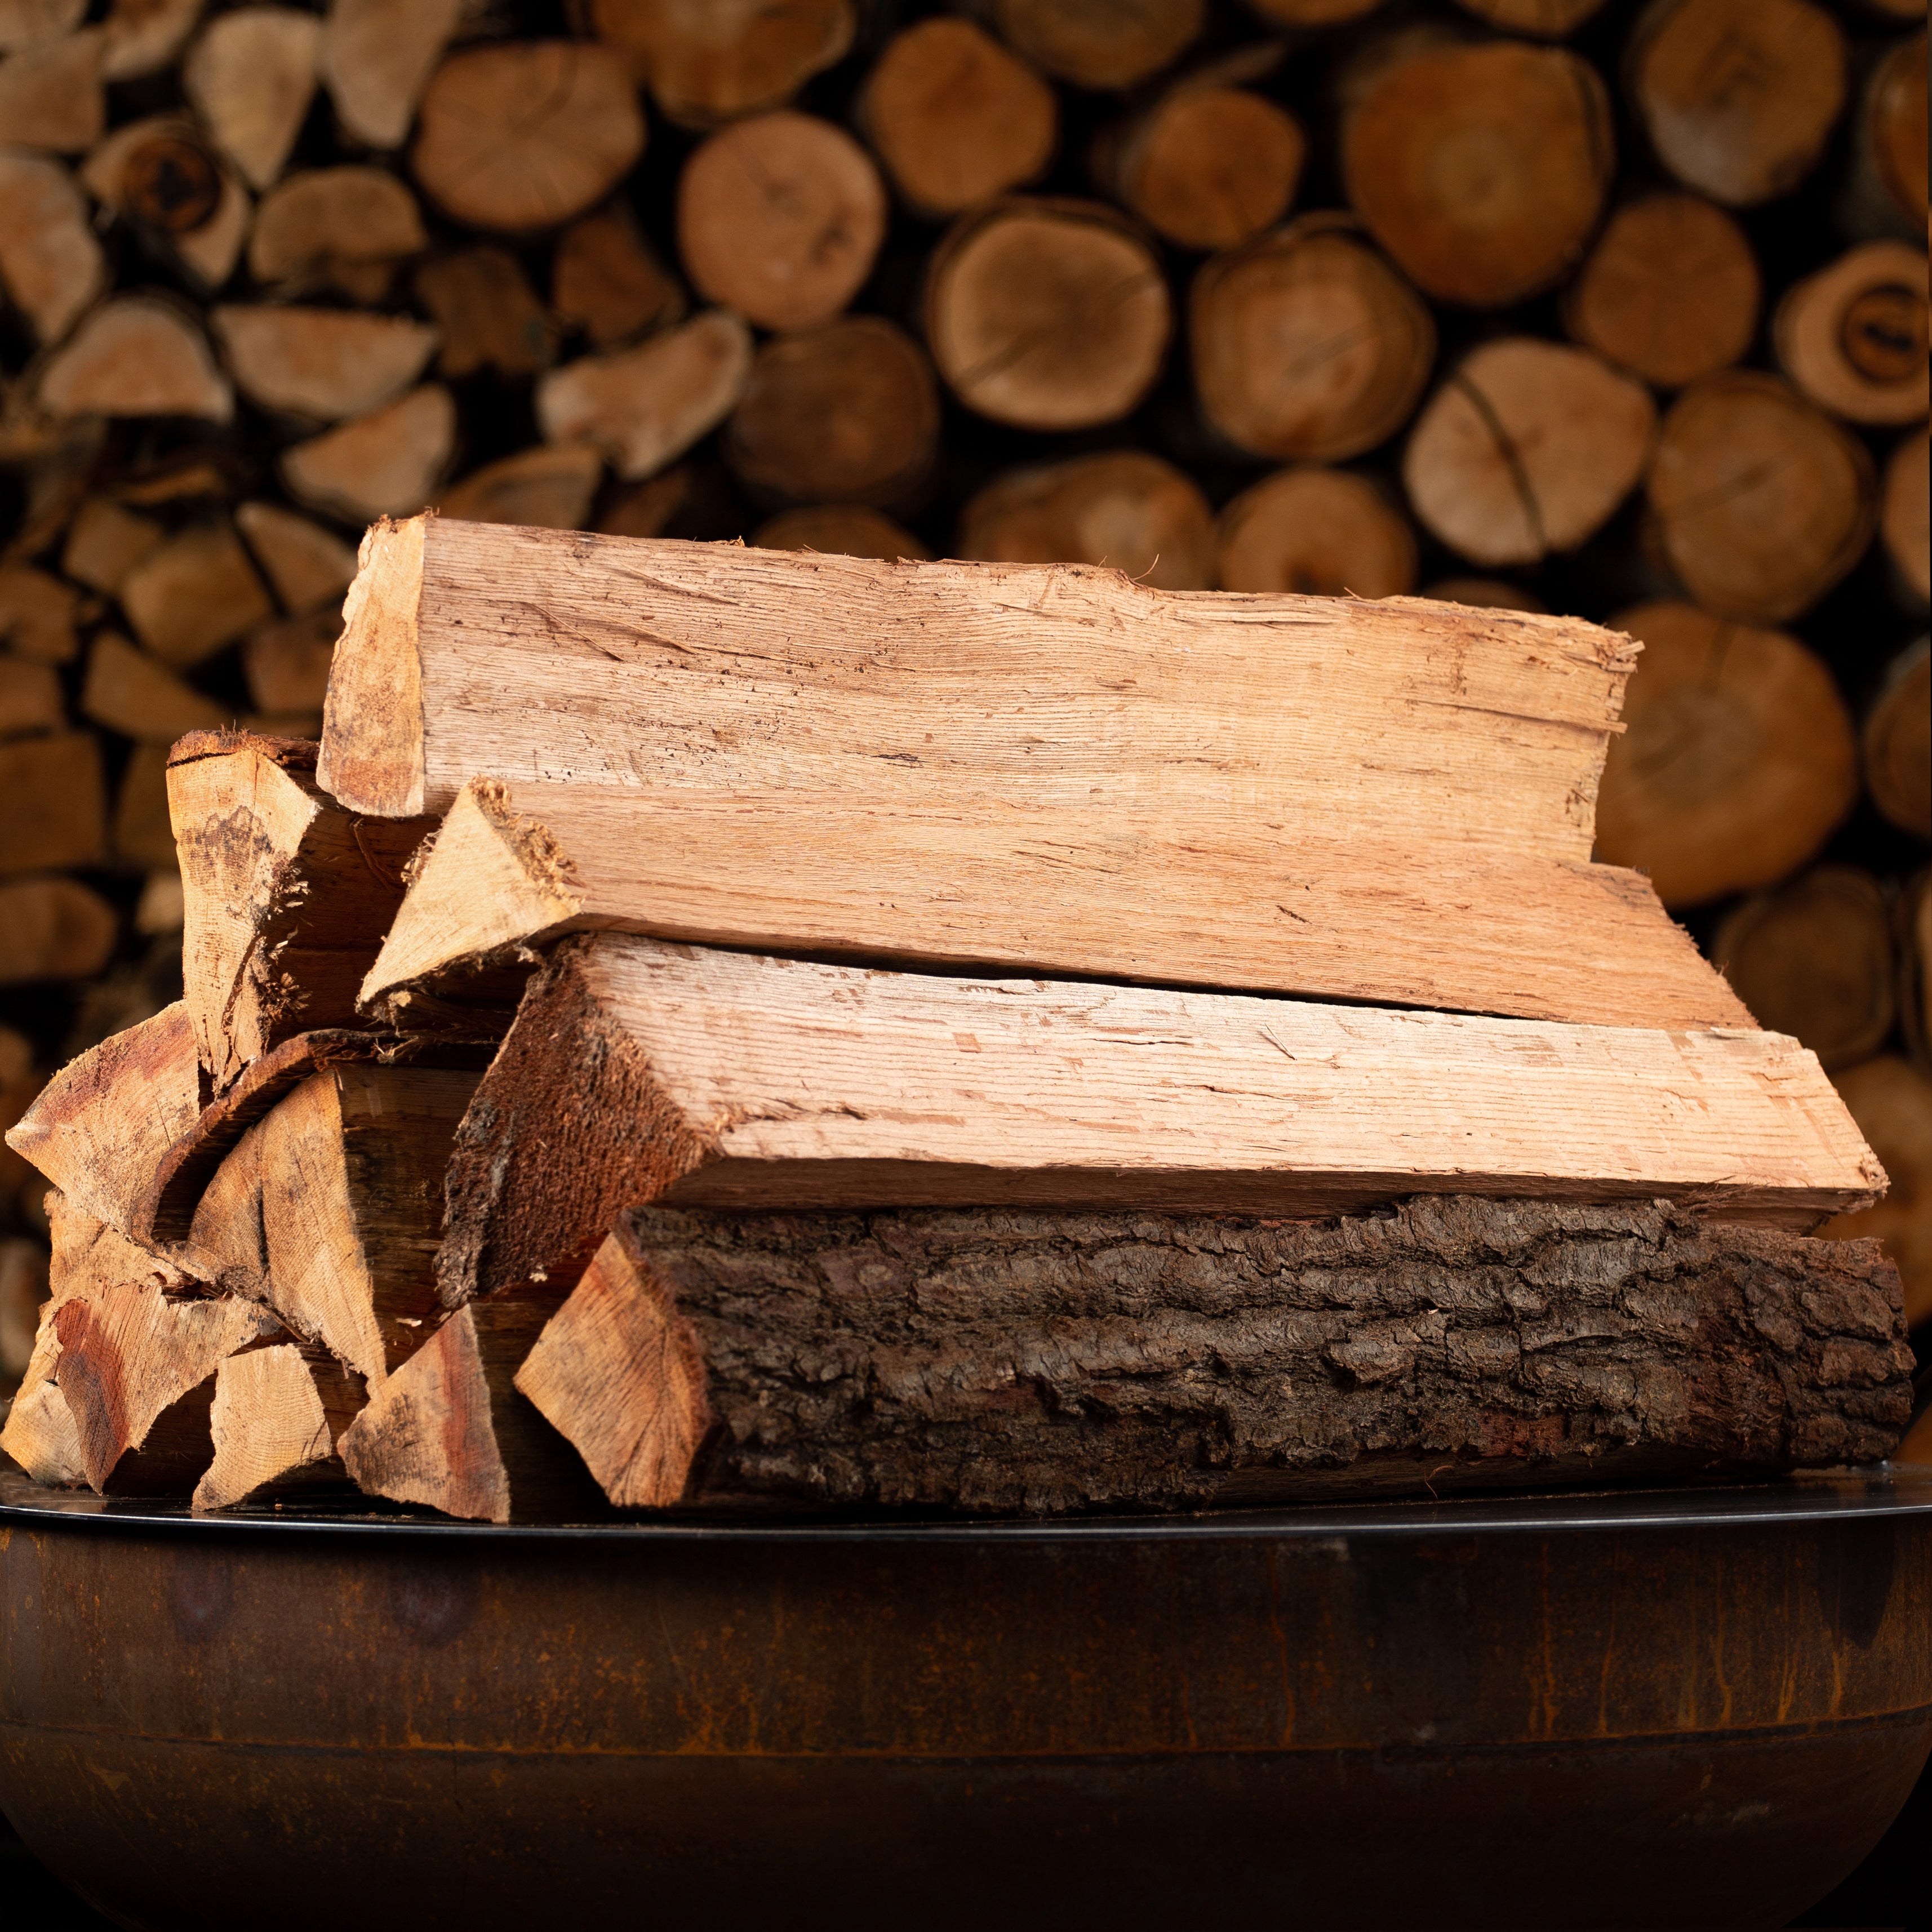
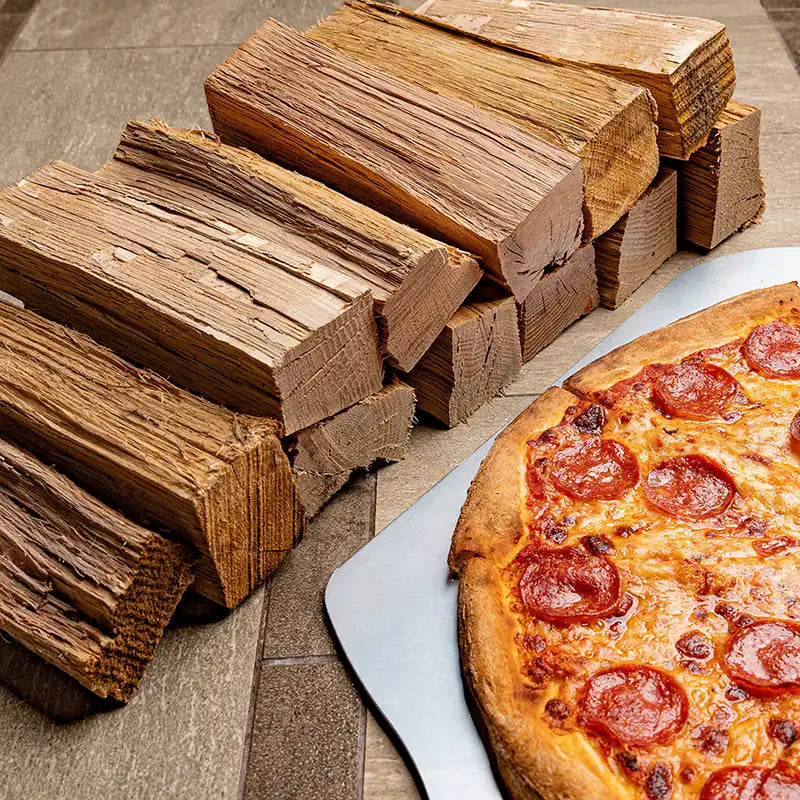
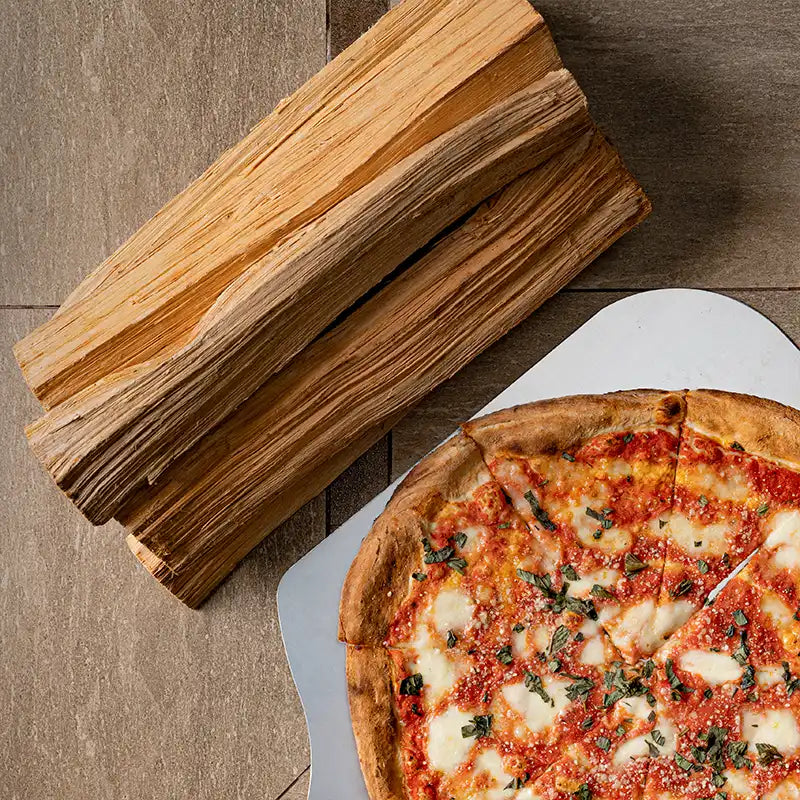
Consider, too, the wood used in your oven — like the steadfast oak we use for our premium pizza wood — which can influence the cooling period due to its high heat retention properties. The hearty, resilient oak imparts an enduring heat, creating the perfect stage for your crust's golden performance. But, this very heat retention also beckons for patience during the slow cooling process.
STEP 2: SCRAPE OFF ANY LEFTOVER FOOD PARTICLES
Once your pizza stone has cooled and basks in the calm that follows the fiery spectacle, attend to the remnants of the feast that may have taken to your stone. Use a gentle tool, like a wooden spatula, to brush away any residual traces of your culinary masterpiece without scratching the stone’s surface.
The type of wood that fueled your pizza oven also plays a part here, subtly influencing how tightly food adheres to the stone. Woods like cherry that burn at a lower temperature can lead food remnants to cling more tightly to your stone, while oak — with its elevated burn temperature — tends to encourage a less insistent bond.
STEP 3: CLEAN IT WITH WATER (NO SOAP)
The cleaning of the stone is a tender ritual. A gentle cascade of water, not soap, is all that's needed. This is because the stone is porous by nature, and it could absorb the soap, later releasing it into your future pizzas, affecting the flavor and experience of your culinary prowess.
Instead, use warm water, protecting your stone from the jolt of thermal shock, and a soft cloth or sponge to delicately cleanse the surface.
The type of wood you use in your oven can also affect this step. Robust hardwoods like oak may lead your stone to require less frequent cleaning, as their higher burning temperatures encourages a cleaner and graceful burn that results in less sticky residue.
STEP 4: ALLOW THE STONE TO DRY NATURALLY
Now it is time to let nature continue its magic, returning your stone to its resting state as you let it dry naturally. The whispers of warmth that may tempt you to expedite the drying are a siren call — heed them not. The introduction of heat can shock the stone, risking its durability and integrity.
Instead, allow the stone to bask in the gentle embrace of a well-ventilated area or enjoy a peaceful slumber under the twinkling stars to dry.
This gentle return to its elemental state preserves the stone's vitality and promises many more performances of the pizza-making spectacle that brightens the evenings spent in your open-air kitchen, flickering joyously in your memories.
STEP 5: SEASON YOUR PIZZA STONE (OPTIONAL)
Though optional, seasoning your pizza stone is a ritual that can bestow longevity upon your stone and elevate the flavors of your forthcoming pizzas. To season your stone, simply spread a thin layer of oil — flaxseed oil, canola oil, or another high smoke point oil are excellent choices — across your stone.
From there, place the stone in a cool oven, gently allowing the temperature to ascend to 450 degrees Fahrenheit. After around 30 minutes, turn off the heat and allow the stone to cool naturally.
The character of the wood you use in this process is not to be underestimated. Certain woods, like applewood or hickory, can impart a gentle, smoky whisper to your stone, lending a subtle depth to your pizza flavors. Just remember, moderation is key. Overseasoning may lead to excess oil, undesirable smoke, or unwelcome flavors.
We want to remind you that this step is completely optional. If you’d prefer to simply dust off your stone and put it away until your next cooking adventure, your stone will be no worse for wear.
STEP 6: STORE PROPERLY FOR FUTURE USE
After your stone has been nurtured and prepped, it requires a safe haven. When fully dry, nestle it in a dry, secure spot, protected from the harsh whims of temperature fluctuations. Ensuring the stone lies flat will guard against any potential warping or cracking. There it will wait, protected, holding the promise of future culinary delights.
COMMON PIZZA OVEN QUESTIONS
A few lingering questions may flicker in your mind like embers in your mind as you embark on this journey of pizza-making mastery.
1. CAN YOU DRY YOUR PIZZA STONE IN THE OVEN?
Though the radiant heat of the oven may seem a tempting solution, we recommend the tender touch of air drying. This guards your stone against potential thermal shock.
2. HOW OFTEN SHOULD YOU CLEAN YOUR PIZZA STONE?
Much like the choice of toppings on your pizza, the frequency of cleaning your pizza stone is up to your discretion. Some people choose not to clean their pizza stones at all — this practice is completely optional. However, should you want to clean your pizza stone, no harm will come from it.
3. HOW OFTEN SHOULD YOU SEASON YOUR PIZZA STONE?
Another personal preference, seasoning is not strictly required to maintain the integrity of your stone. Some prefer to season their stone every few months, while others might not find it necessary. Listen to your stone; it will guide you.
4. CAN YOU LEAVE YOUR PIZZA STONE IN THE OVEN ALL THE TIME?
Certainly, the soft, constant heat of the oven serves as a suitable resting place to help keep your stone pristine. If your oven is tended by the likes of pecan, hickory or oak, woods known for their consistent heat, you might consider leaving the stone within its warm embrace. On the other hand, if your oven is warmed by a less consistent heat source, it may be more prudent to remove the stone between uses.
In all, let the wisdom of the flames guide you, and they will not lead you astray.
ENJOY DELICIOUS PIZZAS AND A LONG-LASTING STONE
And so, as the embers dissipate into the evening, you're left not just with a clean pizza stone, but a deeper understanding of this culinary art form. Under the stars of your open-air kitchen, the rich aroma of oak firewood filling the air, you are crafting more than a meal; you're composing a memory, an ode to the harmony of flavors, and a celebration of life's simple pleasures.
As you embark on this memorable culinary voyage, remember that the spirit of your pizza stone is intrinsically tied to the wood that fuels your fire. The quality of your wood can elevate your pizza-making to new heights, gracing your taste buds with an incomparable blend of rustic authenticity and sophistication.
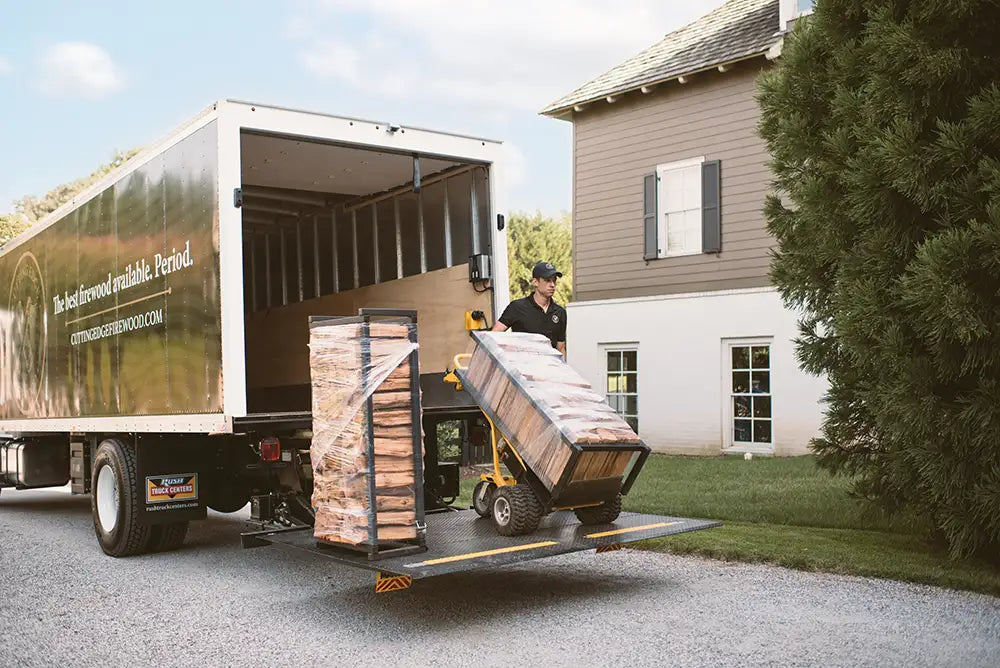
We invite you to amplify this experience with Cutting Edge Firewood as your companion on this culinary journey. Our premium firewood infuses your pizzas with depth, stoking the fires of unforgettable moments. With our white-glove delivery service, enjoy the promise of sustained, high-heat burns for enhanced flavor and unmatched quality.
Sources:
9 Pizza Stone Mistakes Everybody Makes, Plus How to Avoid Them | Purewow
Porous Rock - an overview | ScienceDirect
Understanding cooking oil smoke points | North American Olive Oil Association

