We love ribs. They are a top 3 favorite food, and there is nothing like them when they’re falling right off the bone.
Our first attempt was a huge success, largely because the 3-2-1 method makes cooking perfect ribs surprisingly easy.
Read on for the directions, recipe, and lessons learned below!
Why the 3-2-1 Method for Cooking Ribs?
When we eat ribs, our goal is to be able to lick the meat right off the bone. We don’t want to fight with the meat or work too hard. Some people would say this is too tender, but not us. And since we’re cooking these ribs in our own backyard, We’re going to cook them the way we like them!
The 3-2-1 Method is an awesome way to achieve that fall-off-the-bone consistency with ribs. It’s popular because it’s easy and consistent.
Here is a quick overview of how the 3-2-1 Method works for smoking amazing ribs:
- Smoke spare ribs over indirect heat for 3 hours (or 2 hours if you’re using baby back ribs). This gives the smoke flavor from your wood a chance to cook into the meat.
- Wrap the ribs in aluminum foil and smoke them for 2 more hours. It’s popular to add some kind of liquid inside the foil, like cider vinegar, beer, or even water, to give it extra moisture.
- Remove the foil and thinly coat the ribs in barbecue sauce. Smoke for 1 more hour.
Since we were cooking baby back ribs instead of spare ribs, this really became the 2-2-1 method for cooking ribs. Baby Back Ribs are a good bit thinner than spare ribs so they don’t need to cook as long.
Materials Required
As usual, we’re going to describe the food ingredients we used, plus the grilling equipment:
As far as the ribs go, this is a pretty simple recipe with only a few ingredients:
- Spare ribs or baby back ribs
- Dry rub for the ribs
- Liquid mixture for step 2 – We followed a great recipe from Hey Grill Hey
- 1 cup of apple cider or apple juice
- 1/4 cup dark brown sugar
- 2-3 tbsp salted butter
- Your favorite BBQ sauce

For grilling equipment, we used:
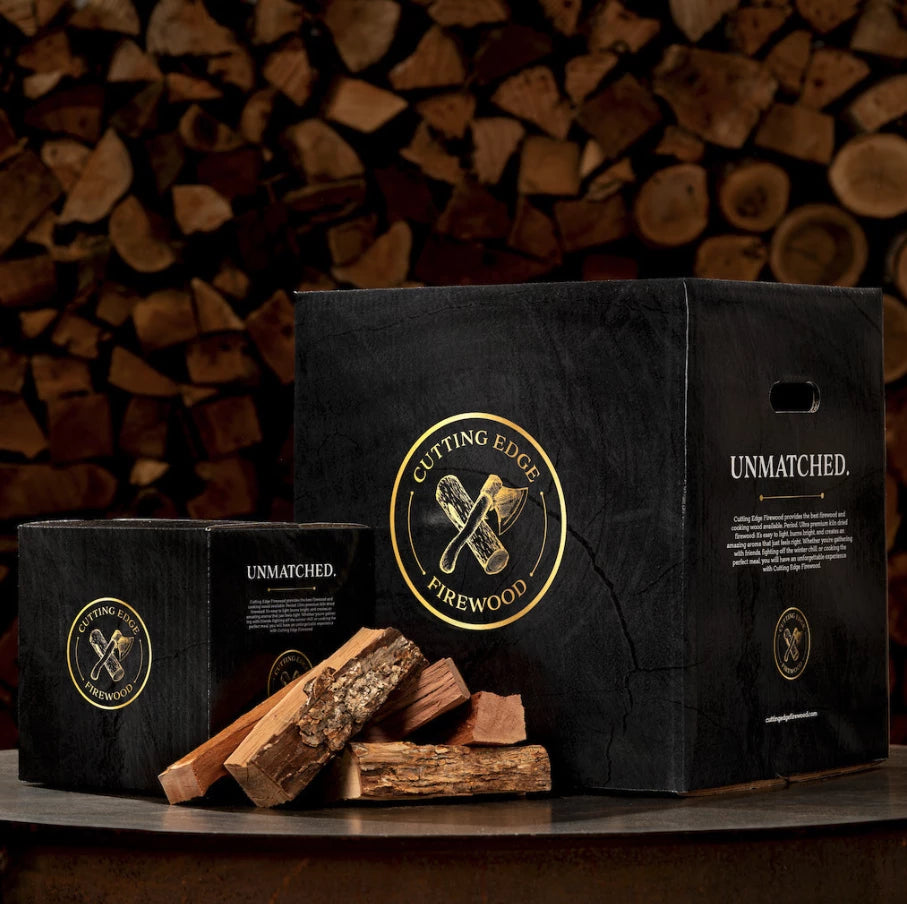
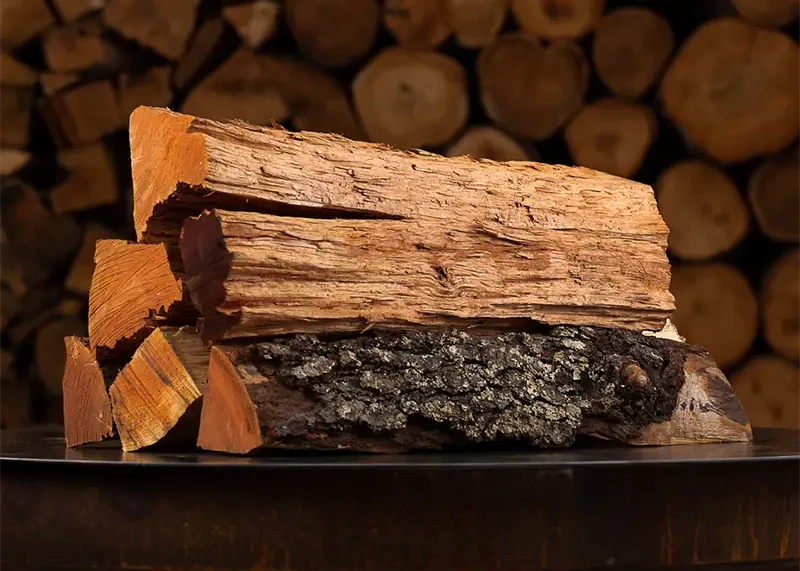
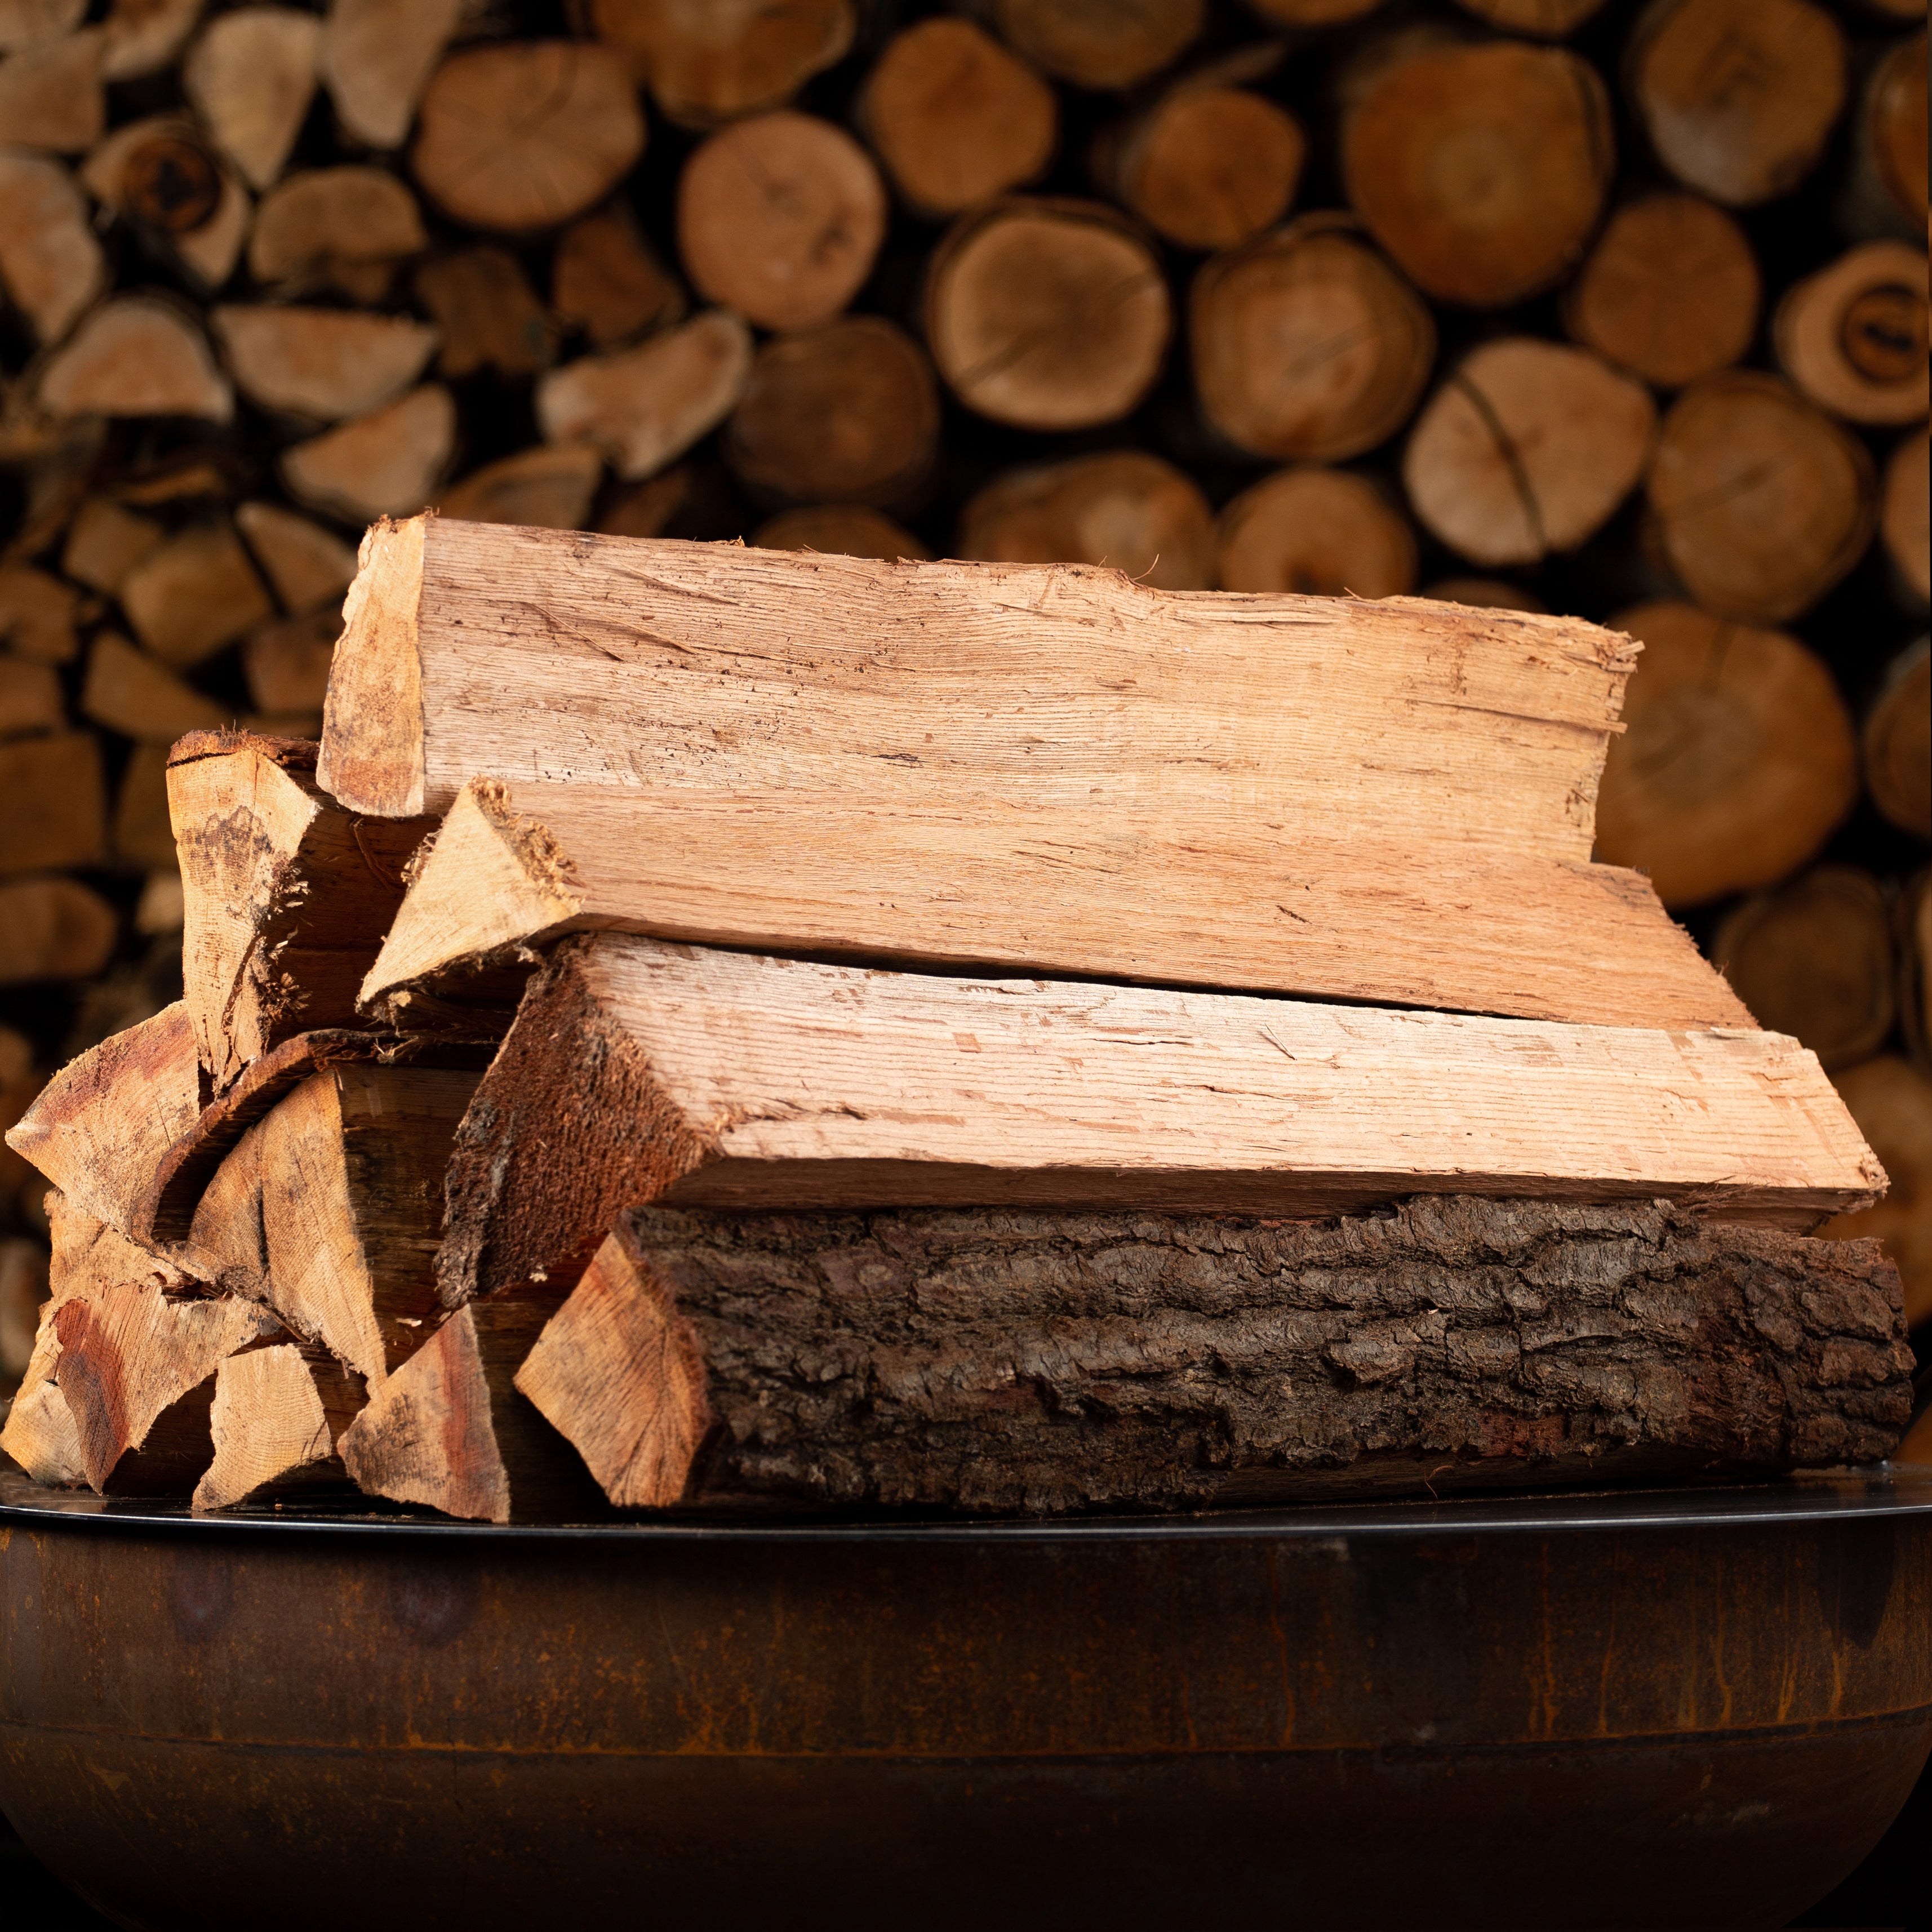
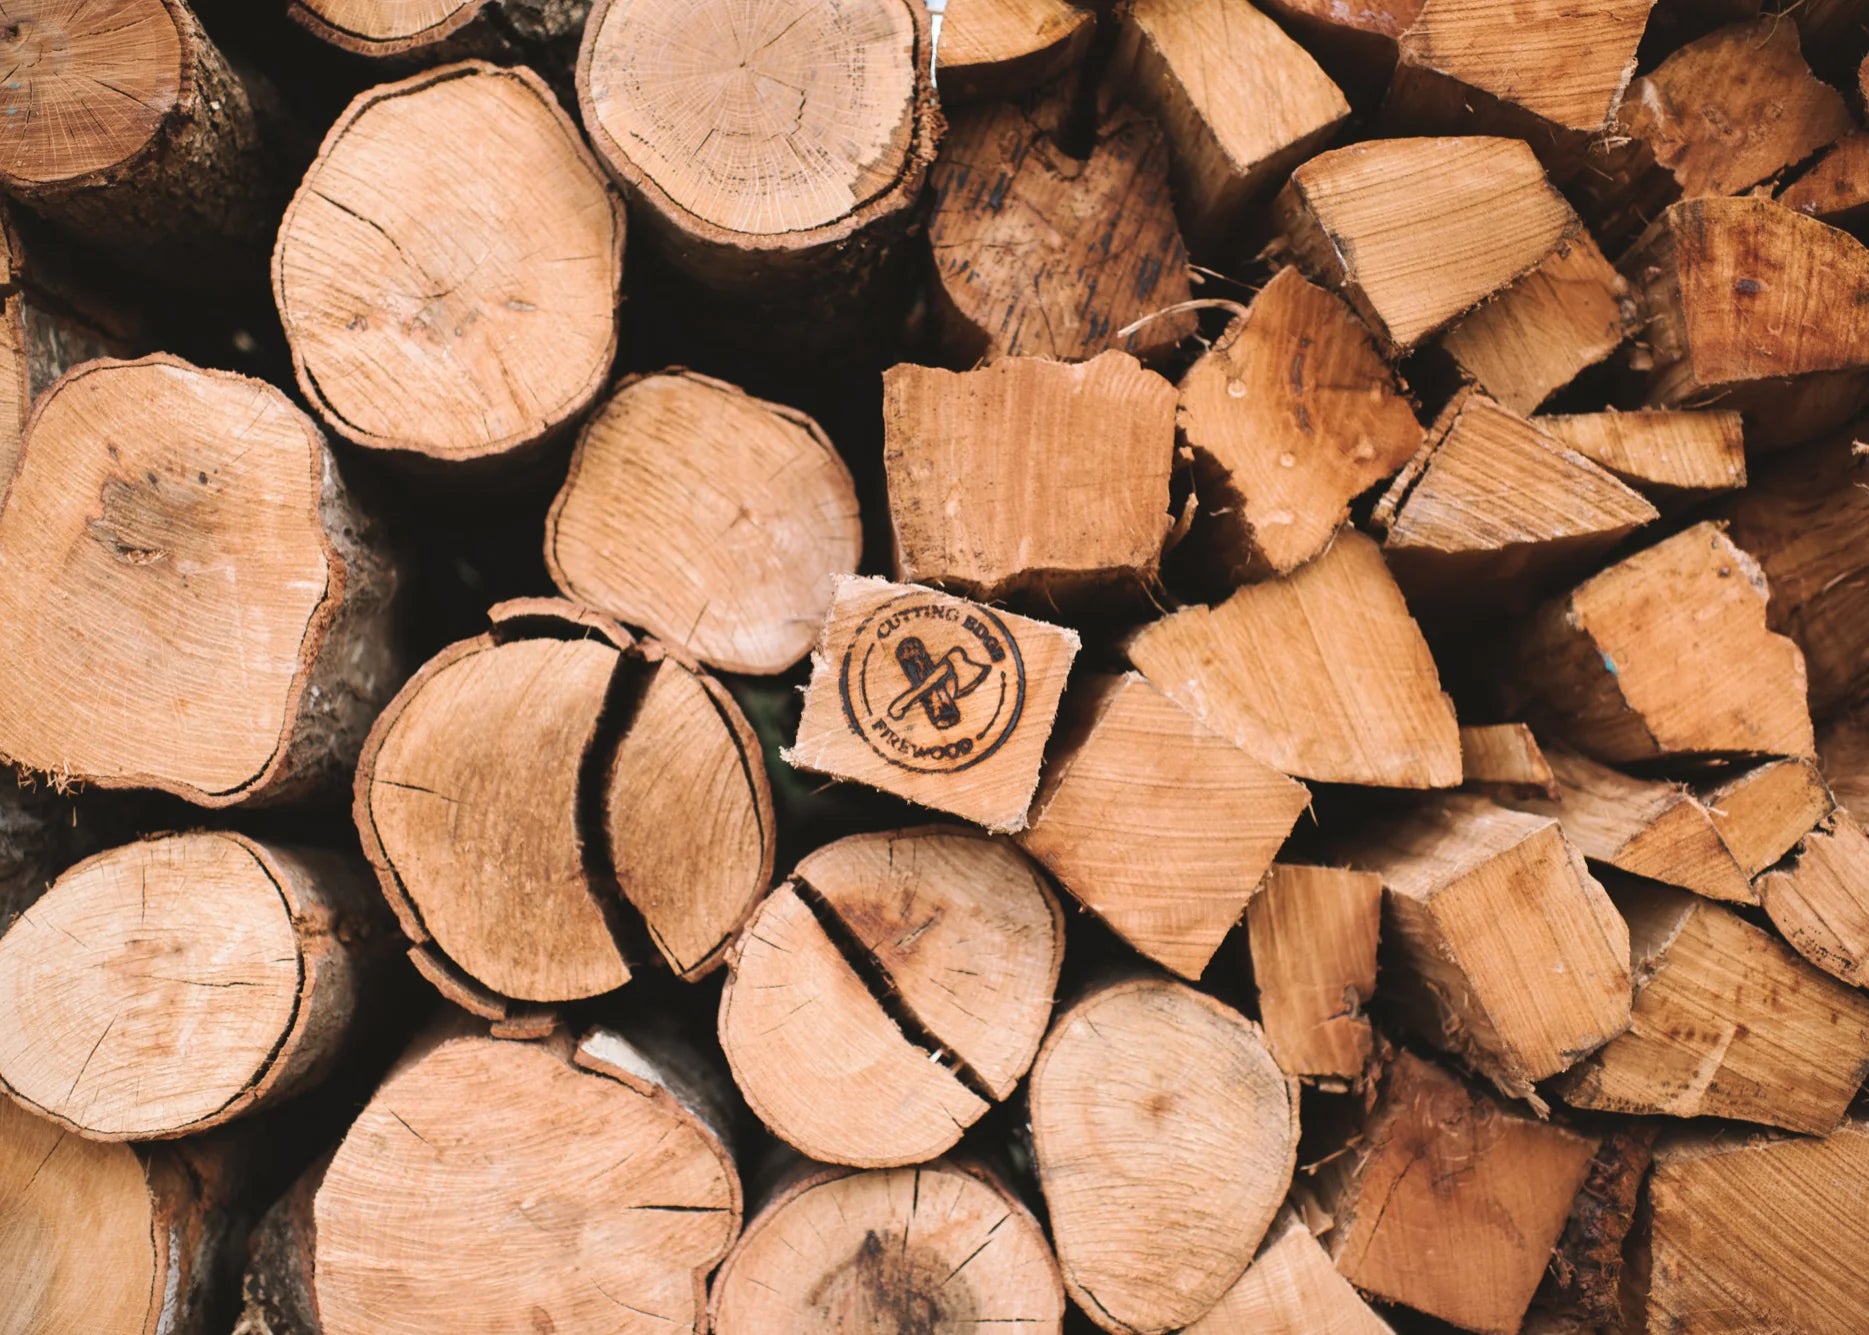
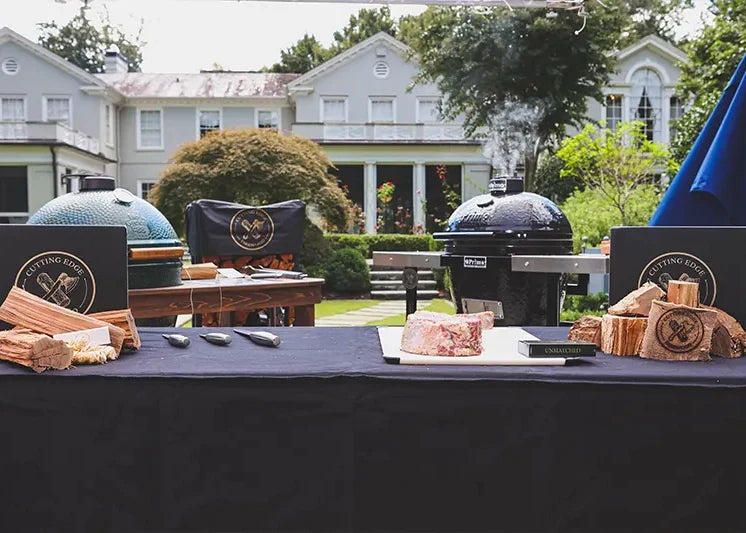
- Cherry Smoking Wood Chunks from Cutting Edge Firewood
- Primo Oval XL 400
- Ceramic heat deflectors from Primo
- The ceramic heat deflector rack
- The Flame Boss 500
- Hardwood Lump Charcoal (optional)
- Aluminum Foil
- Brush for applying the BBQ sauce
- Tongs and Spatula for flipping the ribs
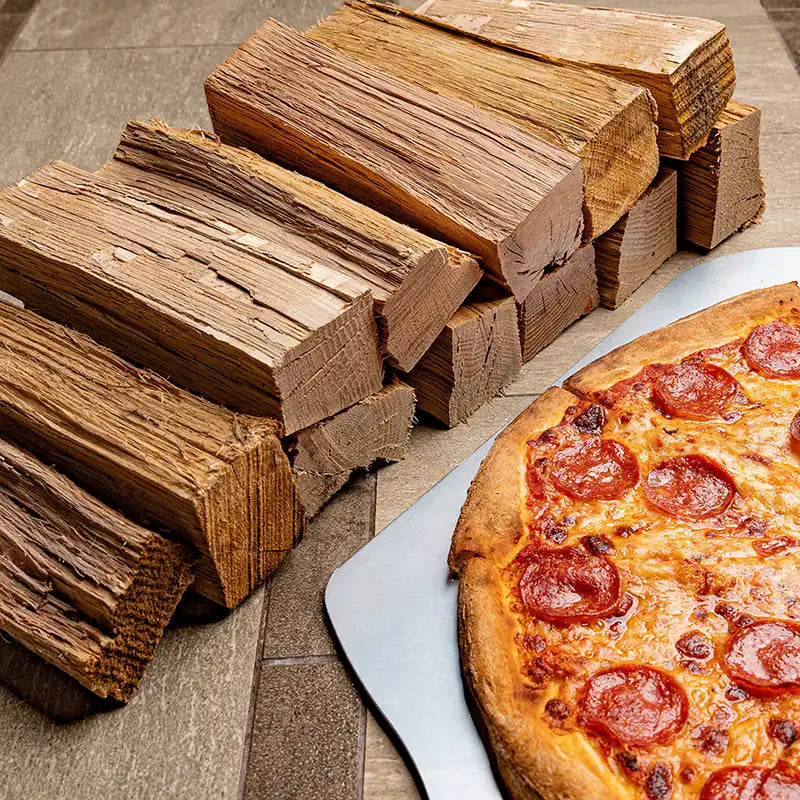
We chose cherry smoking wood chunks because we love the sweet smoky flavor of cherry wood, as do many famous chefs that use our wood. It’s an awesome cooking wood, and you can tell the difference when you cook with it.
The cherry chunks from Cutting Edge provide a nice, clean burn that is so, so good!
Pecan, hickory and apple are other good options. Just go light if you use hickory chunks as hickory wood has a bold flavor.
Step-by-Step Guide to Cooking Ribs with the 3-2-1 Method
Preparing and cooking these ribs was surprisingly easy. We’ve all had bad ribs many times before, so we kinda figured it would be tougher (pun intended).
But the 3-2-1 Method really simplifies things. Here is everything we did, step by step:
1. Start preparation the night before (or several hours before) the meat goes on the grill:
- If you’re cooking Baby Back Ribs, there is a membrane that needs to be removed. Weber has a helpful explanation about removing the membrane.
- Apply the dry rub to the ribs. Rub it all over and let it absorb into the meat for several hours.
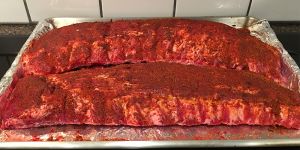
2. When it’s almost time to start, preheat the smoker to 235 degrees. If you’re using a mix of charcoal and cooking wood chunks, then get the charcoal lit first…you won’t add the cooking wood chunks until the grill is heated.
We always like to let the meat sit at room temperature while the grill preheats, as it helps everything cook more evenly.
3. Once you’re ready to put the ribs in the smoker, add your smoking wood chunks to the fire. Immediately after adding the wood, add the ribs with the bone side facing down. If you’re using wood chunks for smoking like the ones from Cutting Edge Firewood, they’ll ignite quickly and burn slowly, providing flavorful smoke for hours.
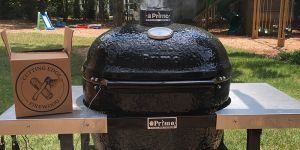
4. Set the timer for 2 or 3 hours (depending on if you’re smoking baby back ribs or spare ribs). Don’t touch anything while it smokes!
5. Once the timer goes off, remove the ribs from the grill and place them on aluminum foil. Close the grill back up so it maintains the right temperature. Add the liquid mixture to the ribs and wrap them in aluminum foil tightly.
We recommend rolling the foil up at the edges to prevent liquid from dripping out into the bottom of the grill. Open the smoker and place in the foiled ribs inside with the bone side facing up. Set the timer for another 2 hours.
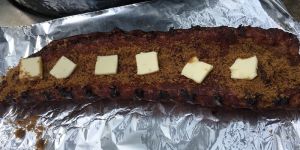
6. After 2 hours, remove the ribs from the grill again. Unwrap the foil and flip the ribs over so the bone side is facing down. Brush the ribs with your favorite BBQ sauce and then place back onto the grill, uncovered. Set the timer for 1 hour.
7. Once the final timer goes off, the ribs should be done! Your BBQ sauce should be caramelized and the ribs should be crazy tender.
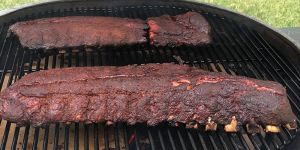
Now say, “YEAH, BABY!” and wait as patiently as possible for them to cool down enough to eat them without burning yourself.
That’s it!
The process takes a few hours, but both the flavor and tenderness are unbelievable. Even my infant daughter, who had only been eating solid foods for a few weeks, loved them.
Lessons Learned
Today we have 3 things (although only 2 of them are actually serious):
-
Don’t work on food over the open grill! For the final step, we made a big mistake. We tried to remove the ribs from the foil over the grill. This meant a lot of liquid spilled out into our coals which cooled everything down.
It also meant copious amounts of steam and smoke got in our eyes.
To make matters worse, we then covered the ribs with BBQ sauce over the still-open grill! Although we didn’t spill anything else, it meant that more heat was lost.
It’s much better to remove the ribs at each step, and then treat them on the side with the smoker closed.
- Cook more ribs if you have the space: We seriously loved these ribs and know that next time we’ll fit as many racks as possible into the smoker. Fortunately, it’s the Primo XL400 and it can fit a lot of food!
- Remove the membrane before adding the dry rub: We didn’t realize there was a membrane to remove from the baby-back ribs until after we had applied the dry rub and let it sit overnight. The membrane prevented the dry rub from really getting into the meat, so it would have been better to remove it earlier.
- Pro tip: Reverse sear the ribs.
Conclusion
Making ribs using the 3-2-1 method was an awesome way to do it for the first time. Frankly, we’ll probably continue using this method because it was so good.
We truly knew it was a success when we shared these ribs with family and their eyes lit up when they tried it.
We loved the smoky flavor that came from the hickory chunks and the tender texture of the meat. You can try out our hickory smoking chunks yourself or, if you want to try a few different kinds of wood then give a box of our Variety Pack Smoking Chunks a try!
If we can make awesome ribs, then you can too. Share your comments, tricks, or tips with us in the comments!

