

We've always felt like smoking a brisket is a more advanced level of BBQ, and brisket was something we’d order at a restaurant, not something we’d smoke in my own backyard.
But not today.
Most BBQ pros will tell you that brisket is a larger and more temperamental cut of meat, requiring longer cook times, and can be a more complicated cooking process than smoking a pork butt.
Brisket also carries a higher price tag - most of us can forgive ourselves for ruining a $30 pork butt, but if we destroy a $80 brisket the pain is going to be more severe.
But enough of the doubts and fears - we’ve spent several months mastering the Primo XL 400 and now it's time to go for it.
Let’s smoke a brisket!
Equipment for Smoking a Brisket
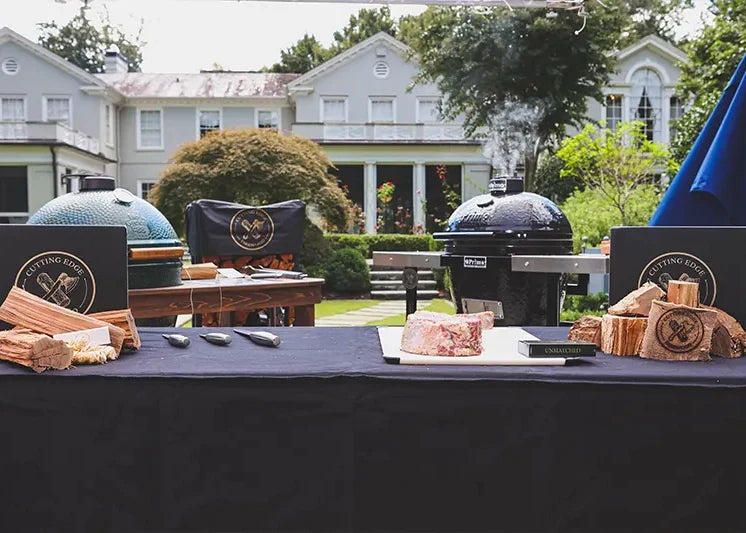
When cooking a brisket on a kamado-style grill like the Big Green Egg, Kamado Joe, or Primo, there are a few pieces of equipment that will really make your life easier.
- Ceramic heat deflector plates: When cooking low and slow, you've got to cook over indirect heat. A brisket is so large that you won't be able to smoke on one side while the fire is on the other – so you need some ceramic heat deflector plates.
-
Flame Boss 500: Briskets need a long time to cook - anywhere from 1 to 1.5 hours per pound!
It's also important that you maintain a steady temperature throughout the cook. This is easy when you use the Flame Boss 500 – This wi-fi temperature monitor and controller is possibly our favorite piece of equipment and one that has given us a much higher rate of success.
With the Flame Boss, you can track your food and remove it from the heat at the perfect time, every time! -
Large Drip Pan: Cooking a brisket creates a lot of juice (and that’s a very good thing!) You’ll need a large drip pan to catch all this juice, otherwise, the grease will drip into your fire, creating a ton of smoke and messing with your pit temperature.
My drip pan was a little too small so things got pretty smoky towards the end. - Charcoal (unless you are cooking with all wood): This is a long cook, so make sure you load up your grill/smoker with plenty of charcoal. It's a great heat source and, if you have some left over, you can use it again next time.
-
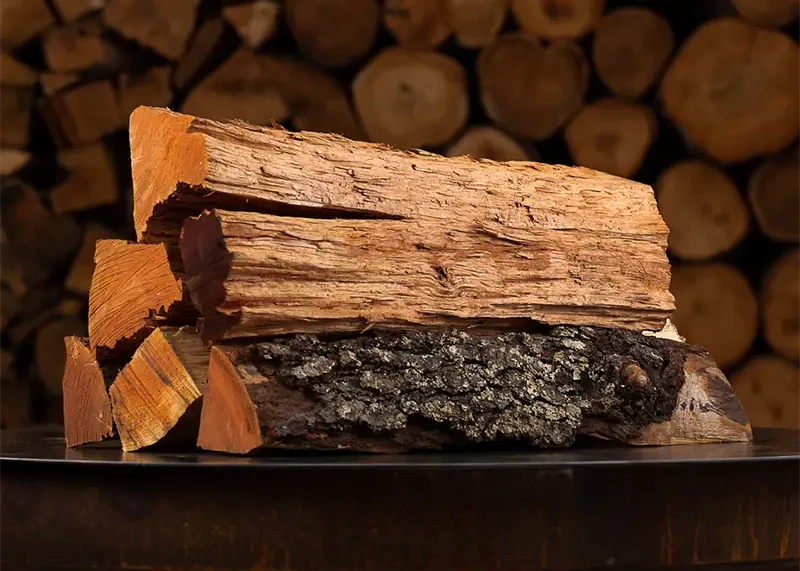
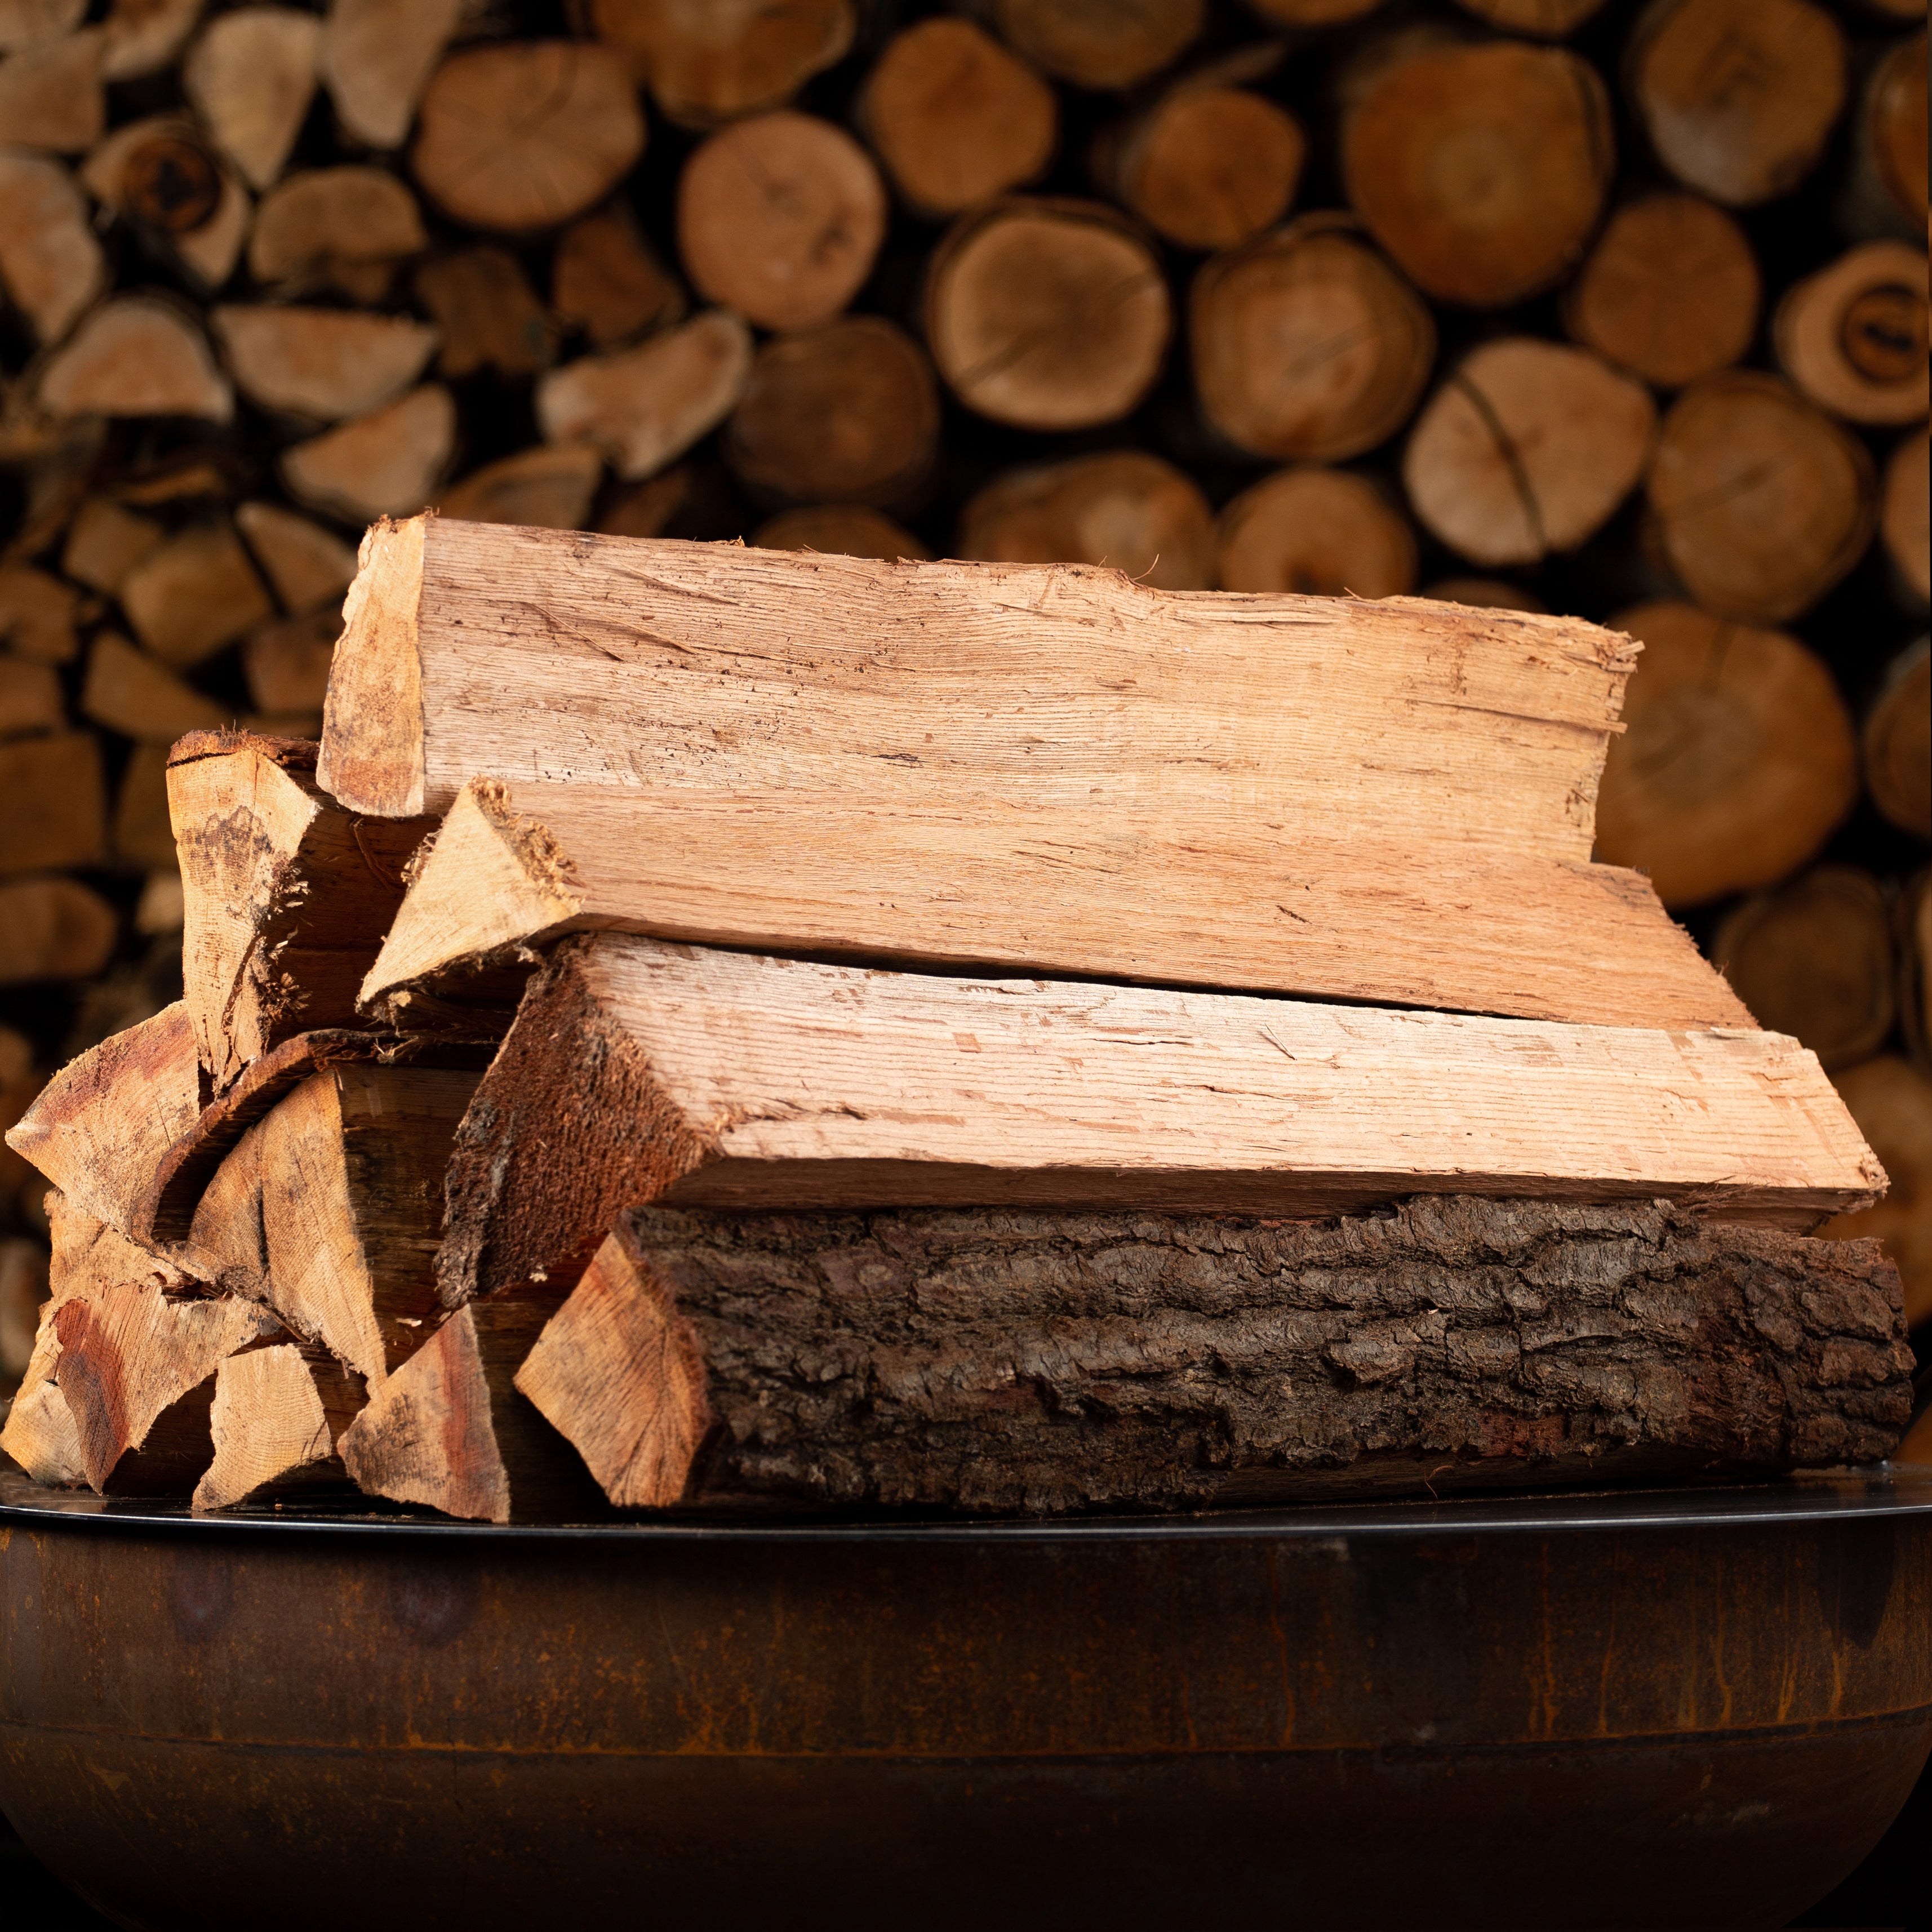
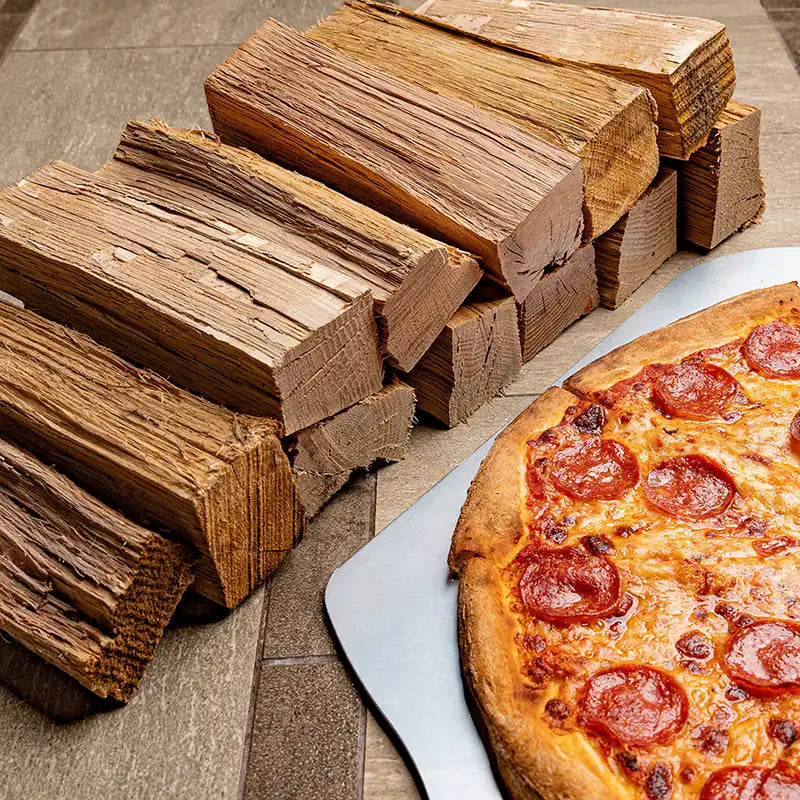
Hickory cooking chunks: Charcoal doesn't add any flavor, so we always recommend mixing in some smoking wood chunks.
We decided on our favorite smoking wood flavor hickory.
Hickory produces the boldest flavor and, frankly, we just love bold flavors. Obviously, you’re welcome to try other woods like Pecan or Apple, but just make sure you use a quality provider like Cutting Edge Firewood so you get a great burn time and flavor.
Directions for Smoking a Brisket
Although smoking a brisket takes a long time, it's still a pretty simple process.
-
Select the brisket: When you purchase a brisket, there are a couple of different ways you can get it cut. We went for the full thing, called a “packer brisket”, but you can also choose just the flat or just the point.
You can learn about the difference between the flat and the point, but really they're both good. -
Prepare the brisket: If your brisket includes the point, it will contain a lot of fat. You might want to trim that excess fat down to only 1/2 inch thick.
Don't trim too much because fat provides a lot of juice and flavor! You should also coat the brisket with your favorite dry rub. - Preheat the smoker to 250 degrees: We cooked this brisket at 250 degrees. You could give or take 10 degrees probably, but you want to keep the temperature as consistent as possible.
-
Place the brisket in the smoker: This is the easy part - get that brisket cooking!
There is a lot of debate about cooking with the fat cap up or the fat cap down and, for this one, we tried cooking it with the fat cap down.
In the future we’ll stick with the fat cap up - this allows the juices to sit on top of the brisket and get absorbed.
We found a few dry patches on my final brisket and think having the fat cap up would have helped. -
Wrap the brisket: When the brisket reaches an internal temperature of 165 degrees, remove it from the smoker and wrap it in butcher paper. This helps keep things juicy and gives the exterior a nice crispy finish.
After it's wrapped, place it back in the smoker and cook to an internal temp of 205-210 degrees. -
Remove from the smoker and let it rest: Like other big hunks of meat, you should let the brisket rest for a solid hour.
To do this, wrap it in foil and allow the juices to cool enough to thicken up slightly so they won’t gush out of the meat when you make a cut, but stay contained and keep your brisket moist. -
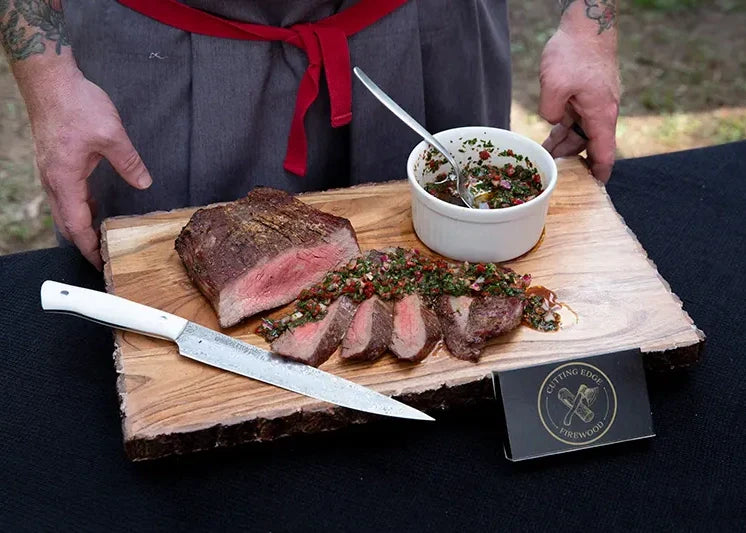
Cut it and eat it because it's delicious: We probably don't need to give you directions on eating the brisket, but we did find it was much easier to get good, tender slices when cutting it against the natural grain of the meat.
Here is a good guide to slicing brisket.
Lessons Learned
Like everything else we've cooked, there are a few things we learned during this first brisket cook. Overall we were really happy with how it turned out, but still, it wasn't perfect!
- Having a meat thermometer to monitor the cook the whole time is so important. We got this with the Flame Boss, so this wasn't a mistake.
You just can’t cook something like a brisket successfully without knowing the meat's temperature. - Light the charcoal on one side of the grill: for some reason, we decided to light the charcoal in two places, but this just means your charcoal will burn faster.
Charcoal burns out, so if you start on one side of the grill it will slowly move from one side to the other. This helps ensure your charcoal will last through the whole cook! - Cook the fat side up: We tried cooking with the fat side down, but it would have been juicier and more tender if we’d cooked it with the fat side up
- Use a larger drip pan if possible: This brisket was so large that our smaller drip pan couldn't catch all the juice!
Everything was getting pretty smoky towards the end because the juice was dropping onto the heat deflector plates and then into the charcoal. We’'ll also add some liquid to the drip pan next time too to see if that makes things even more tender.
Conclusion
We were really happy with how this brisket turned out, and we’ll definitely be cooking this again. From an ingredients perspective, it's so simple and so full of flavor!
And, since it produced so much smoky, tender, brisket, we ended up using some of the leftovers to make an incredible brisket chili, following a recipe by live fire chef and Cutting Edge Firewood fan, Craig Tabor.
See how to make this amazing brisket chili with your leftovers and enjoy your brisket in a whole new way! And of course, if you want firewood for cooking, don't forget that Cutting Edge Firewood offers complimentary shipping on wood chunks for smoking throughout the United States!